Maelstrom Mission #2 - Lost Contact - 1850 Points
Terrain - Fractured ice planet. All hills of ice would be considered difficult terrain (dangerous to jump packs), but offer no real cover except where blocking LOS (5+). The few structures would also provide LOS blocking, and the tops of the two Bastions could have 4+ cover. One area of rubble was the only other 4+ terrain on the table. Where as I placed objectives around in open areas, my opponent was content to place them on the top of the icy spires.
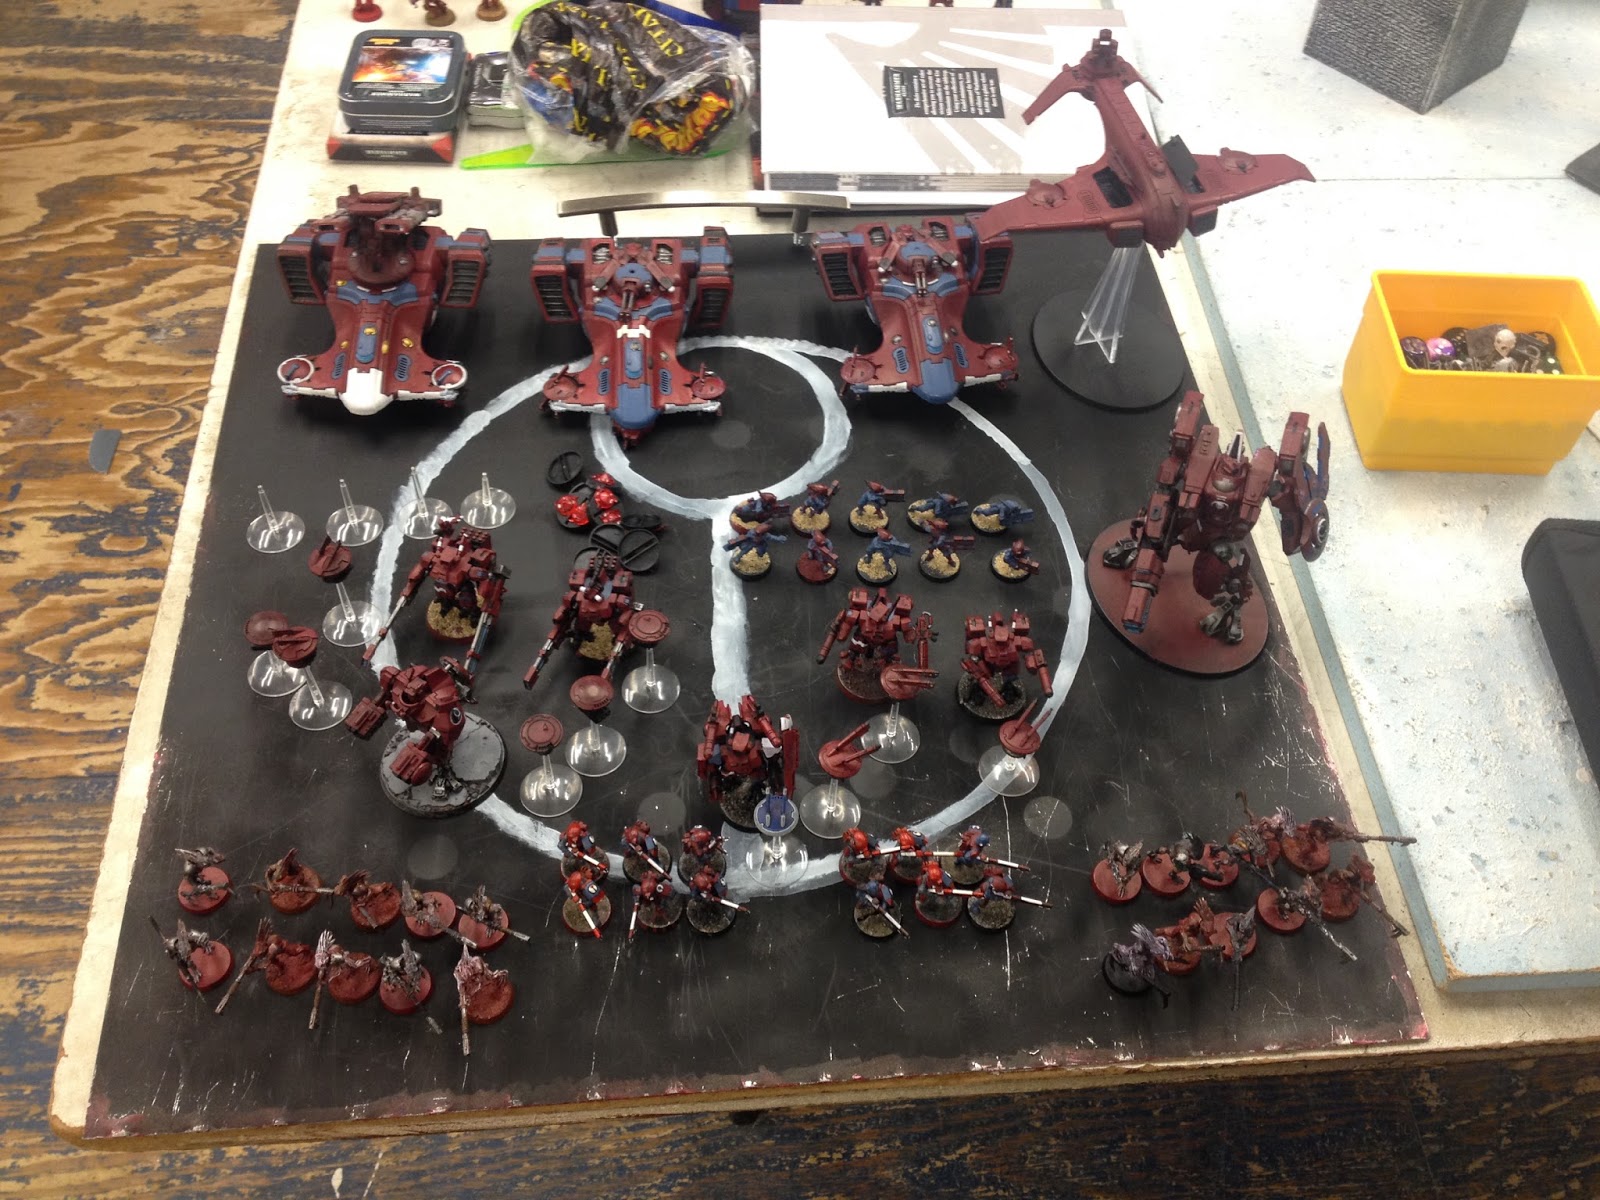
OPFOR - Tau Xenos - Combined Arms Detachment
See the following picture for details - the Tau include Longstreet, a Riptide, two groups of Kroot, battlesuits, drones galore, a heavily armed flyer, pathfinders, firewarriors, and skimmer tanks. Most of the Tau infantry sported blind grenades, and the vehicles sported anti-assault upgrades. The Riptide itself sported the ability to pull off a FNP roll and an invulnerable save. All of his troop units and dedicated transports were objective secured.
5th Company Blood Angels - Shield of Baal Detachment and Angels Wrath Formation
This list is a first draft of why I'm painting more marines for the E Tenebrae Lux over at Bolter and Chainsword.
Shield of Baal Detachment
Epistolary Angelus, Force Sword, PP, jump pack (Warlord)
Sanguinary Priest Marus, PAxe, Auspex, jump pack
Assault Squad, 5, 2xMG, 1 MB, Drop Pod, Deathwind, Beacon
Death Company, 6, PF, PSword
Tactical Squad, 5, FL, Las-Plas Razorback / w PMSB
Tactical Squad, 5, FL, Las-Plas Razorback / w PMSB
Baal Predator Crimson Blade, TLAssCan, HB Sponsons
Baal Predator Crimson Hammer, TLAssCan, HB Sponsons
Angels Wrath Formation
Vanguard (5), 4x twin Lightning Claws, 1 x Thunderhammer, jump packs
Assault Squad, 10, 2xMG, 1 IP, PAxe, jump packs
Assault Squad, 10, 2xMG, 1 IP, PAxe, jump packs

Warlord trait: XXXXX - the plasma pistol becomes twin linked.
Sanguinary Spells:

My opponent won the roll to choose deployment edge. I won the roll to deploy first and go first.
I deployed with Angelus and Marus attached to the Vanguard in reserves (with the full Angels Wrath Formation). The two Baal predators had been deployed with the Death Company and Squad 1 on my far left to head towards a cluster of three objectives; Squad 2 was deployed on my right to be near an objective and get good cover. In response, the Tau deployed in a solid gun line; Crisis/suits and warlord opposite my Baals, pathfinders in the center, Longstreet in the right corner, and fire warriors flanking the pathfinders in their hover tanks. The kroot infiltrators were placed, one group near the center to go after the midfield objective, and the other near Longstreet (to cover another objective).
Somehow I missed a post-deployment photo.
My opponent failed to seize.
Turn 1 and On - I'm Going to need a Bigger Boat
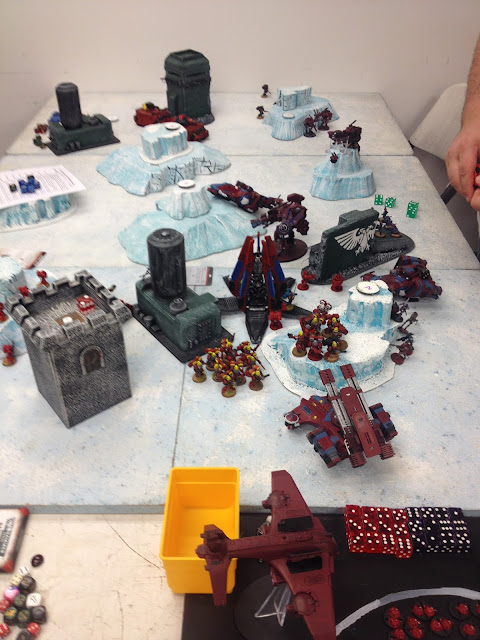
Here we are in the middle of Turn 1. I'd drawn one card (destroy an enemy vehicle). The drop pod rammed down right in front of a Tau tank, at a locations that offered some cover. The meltacide squad dismounted, and spread out a bit to try and mitigate plasma blast damage. Squad 1 dismounted to cover an objective on the left, and the same with squad 2. The Baals and far razorback began shooting at the opposite Tau suits and drones, eliminating a few drones, but doing not much else. The meltacide squad fired on the Tau tank, only giving it one dent for a hull point, and also getting it to Jink. Between Squad 2 and the deathwind, the kroot in the center were eliminated. I score a single point for first blood (Kroot).

Closer shot of the meltacide squad in action:

In response, the Tau also begin to move forward. Their Maelstrom card was for something difficult to achieve. Ultimately, in shooting, I lost hull points on pretty much every tank and drop pod, AND the Meltacide squad was eliminated. Score 1-0.

In turn 2, the Angels Wrath Formation arrives. I had two objectives, and the two cards yielded the difficult slay the warlord and an objective grab. The terrain made it difficult to place everything. The Vanguard arrived first off the pod's beacon, followed by the 7th Squad and 8th Squad assault marines, of course in TIGHT deep strike formation. With meteoric impact, the nearby kroot squad took several casualties and broke, but only dropped behind the terrain (to rally in the Tau turn). In shooting, I took a hull point and jinked Longstreet's tank, ran the Vanguard /Angelus / Marus to disperse them, and caused a few other casualties. On the far left, I moved forward, but overall shooting was again ineffective. I scored another point.
In response, the Tau pushed further forward to re-take the center objective, and to line up to shoot the Death Company, my tanks, and ultimately Squad 7. My opponent had 2 cards, for an objective and for winning an assault. At the end of his turn, I'd lost 3 DC, one Baal, a few more hull points, and the Tau scored a point. We both forgot to roll to bring his flyer from reserves. He'd moved the Jinked Longstreet, down a hull point, into the corner to try and save it. Score 2-1.

In Turn 3, I had 2 objectives - this card was for my Warlord to die in assault. Squad 8 jumped forward to go after Longstreet in the corner. The Vanguard +Angelus and Marus jumped over the Tau line to multi-assault the Tank and surviving kroot. In the far left, the surviving Death Company jumped in to assault the Tau that had been shooting them. At the end, the Death Company pretty much wiffed (losing another squad member, while not wounding a single Tau suit or drone), Longstreet was wrecked, the Tank was wrecked, and Kroot eliminated. The fire warriors dismounted adjacent to the pathfinders. I earned another point.

Closer shot of the meltacide squad in action:

In response, the Tau also begin to move forward. Their Maelstrom card was for something difficult to achieve. Ultimately, in shooting, I lost hull points on pretty much every tank and drop pod, AND the Meltacide squad was eliminated. Score 1-0.

In turn 2, the Angels Wrath Formation arrives. I had two objectives, and the two cards yielded the difficult slay the warlord and an objective grab. The terrain made it difficult to place everything. The Vanguard arrived first off the pod's beacon, followed by the 7th Squad and 8th Squad assault marines, of course in TIGHT deep strike formation. With meteoric impact, the nearby kroot squad took several casualties and broke, but only dropped behind the terrain (to rally in the Tau turn). In shooting, I took a hull point and jinked Longstreet's tank, ran the Vanguard /Angelus / Marus to disperse them, and caused a few other casualties. On the far left, I moved forward, but overall shooting was again ineffective. I scored another point.

In response, the Tau pushed further forward to re-take the center objective, and to line up to shoot the Death Company, my tanks, and ultimately Squad 7. My opponent had 2 cards, for an objective and for winning an assault. At the end of his turn, I'd lost 3 DC, one Baal, a few more hull points, and the Tau scored a point. We both forgot to roll to bring his flyer from reserves. He'd moved the Jinked Longstreet, down a hull point, into the corner to try and save it. Score 2-1.

In Turn 3, I had 2 objectives - this card was for my Warlord to die in assault. Squad 8 jumped forward to go after Longstreet in the corner. The Vanguard +Angelus and Marus jumped over the Tau line to multi-assault the Tank and surviving kroot. In the far left, the surviving Death Company jumped in to assault the Tau that had been shooting them. At the end, the Death Company pretty much wiffed (losing another squad member, while not wounding a single Tau suit or drone), Longstreet was wrecked, the Tank was wrecked, and Kroot eliminated. The fire warriors dismounted adjacent to the pathfinders. I earned another point.

My opponent was able to draw 2 cards. Nothing tremendous. The flyer fails its reserves roll. He worked to try and take down my tanks some more, and tried to shoot up the Vanguard. I lost the Baal and the Razorback. This photo is during his movement phase. The Tau tank in the center - dismounts its fire warriors, and then moves forward to try to block my advance or move to take my objective...he scored points though. Score = 3 to 3....

In my turn 4, Squad 8 jumps forward to assault the dismounted fire warrior squad, and the Vanguard / HQ moves to assault the pathfinders. I wipe the pathfinders out BUT, the Fire warriors are not eliminated - they get down to one model, and do not break. Squad 2 moves forward, and successfully assaults the Tau tank, wrecking it.

My opponent owned two objectives at this point. In shooting, things went bad for the diminished Tau. His flyer zoomed on, and tried to damage the Vanguard - but the blast deviated way forward covering the assault...killing the last fire warrior and some marines. In the assault phase, the two remaining death company accomplished their mission and stayed at the objective...

His Warlord and drone jumped off to try and take down the Death Company survivors, while the Riptide tried to shoot up the Squad 1 survivors...

At the end of his turn, we were still 3-3 (tie)....

In turn 5, I got 4 cards...and the Vanguard/HQ unit moved forward to go after the remaining Crisis Suits in what had been the Tau gunline center. My assault marines also pushed forward to the center. The Tau just crumbled away (Casualties being sorted out in the lower right...3 suits and 5 drones, half of that from the enraged librarian)....

And then the end, final score 7-3. At the end, the Tau were down to the flyer, Warlord, and Riptide...Blood Angels for the WIN!

Aftermath
It was a fun and difficult game! One of the things about Contact Lost as a mission, is that if you don't get objectives, you are not scoring! You need the cards! It accounts for a low score game every time I play it, and every point counts. Overall, I think my opponent could have done better by getting more objectives early, and not forgetting a reserve roll (which might have helped).
I pretty much made a huge amount of tactical, if not strategic, blunders. The Death Company were played about a turn behind where they needed to be. The Angels Wrath Formation lost a third of its strength (10 assault marines) on the turn they landed due to a large Riptide-boosted plasma blast. Stuff like that can cost you a game!
Overall, it was fun to play this list. I think there are many point inefficiencies in it though, like having storm bolters on the razorbacks, too many claws on the Vanguard, and the auspex on the Sanguinary Priest was never used. I think when I go through this list Rev2 will be stronger. It all depends on what I can build for a better Blood Angel Vanguard Squad....
All for now! Have a great weekend!
No comments:
Post a Comment