Game 1 - Ultramarines battle Company vs Nurgle
Turn 1...I set up first and went first. I'd held one pod, and the HF/MM landspeeders in reserves. Unfortunately I'd whiffed the command squad taking out the Defiler, but I'd fix that in turn 2.

Just another view - up in my left. The Nurgle army was about to respond.

Turn 4...nearly the end. Every one of my games fought through turn 4, which was great. A lot of players reported problems getting that far in the time limits. At this point I was mopping up what i could. The keystone of the opponent's list was the two Nurgle demon princes with essentially 2+ rerollable cover saves on them. After learning that, I baited or ran from them, focusing on the other units I could damage.

Final score for raw maelstrom points. 13-8, which, plus bonuses, would move me to table 2 in round 2. But, before that, we had lunch, pub quiz, and painting comp to get through.

Game 2 - Ultramarines battle Company vs Eldar
Deployment. Not much for area terrain, but lots of LOS blocking. This time I started with the HF/MM speeders on the table rather than in reserves. The cost me two points...

Turn 1 - Pods drop in so I can grab objectives and points. The target for this squad was his jet bikers...this squad had the grav and combi-grav guns, and took out half the bikers which was good, but not great,

Middle of Turn 2. All of my pods are in...my opponent still had units in reserves. The game turned into a very close match, with bad card draws for both of us. Still went 4 turns.

Turn 4 - I think the score at the moment was a mere 5-6. He was thinned out alot - pods with Deathwind launchers did a good share of shooting. I forgot that I had two auspexes though...those might have helped in one instance.

Just another view at the end.

Losing this game pushed me back to the table I started on - #4.
Game 3 - Ultramarines Battle Company vs Necrons
Middle of Turn 1 - Table quarter deployment. I got to go first again, and dropped two squads in the back corner - the focus of the points for the game was to be the center and objectives. I was looking to paste my opponent with a distraction, and it seemed to work.

Middle or so of Turn 2. I've got points growing, things are looking good. The Whirlwind Suppression force is doing its job.

This area became a focal point of the game - bonus points were riding on who controlled the center of the table (marked as an objective next to the snow pile and Rhino). I'd need to clear those warriors to keep it objective secured.
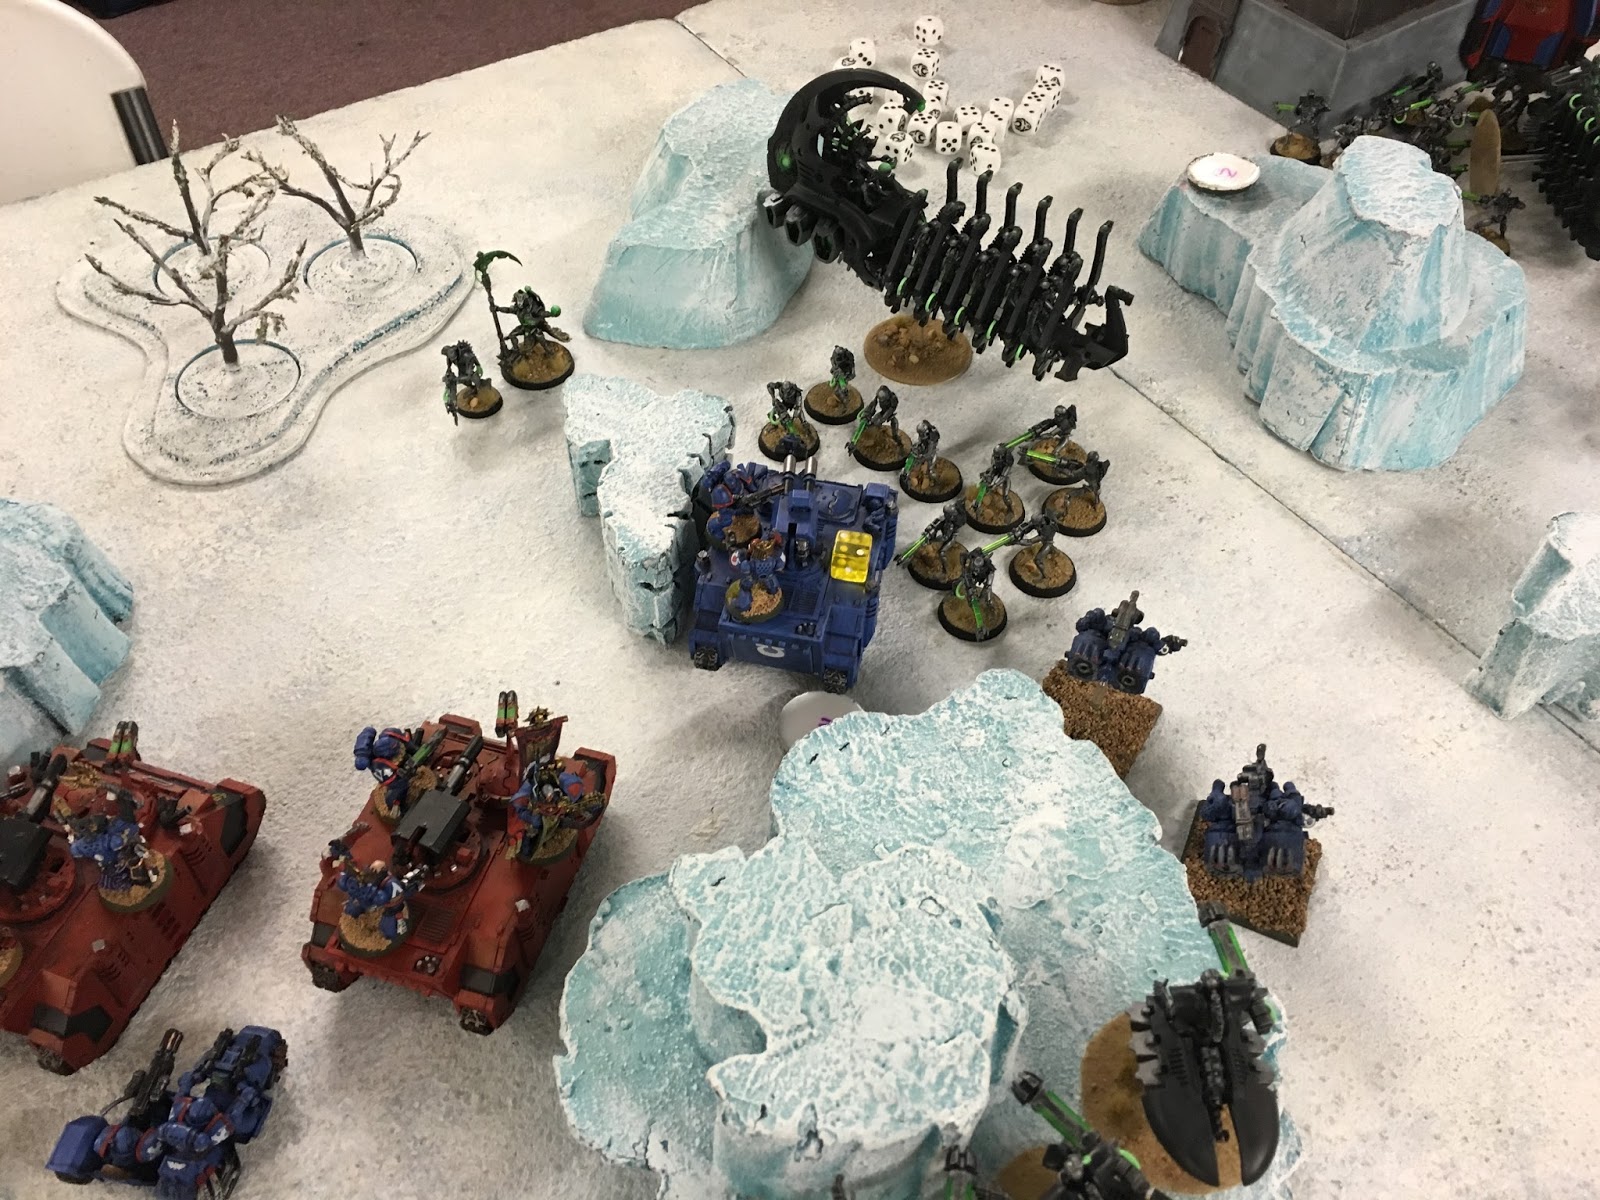
Turn 3. I'm typically using a big red dice for game turn, yellow dice for hull points remaining. His Arks are wrecked, but now he has his flyers on the table. They caused a lot of havoc, BUT it was avazing to see them shot down to massed fire - even after jinking.

Probably the best thing I'd done in deployment was get that plasma cannon squad on the tower. They were stuck there, but it gave them great LOS.

Apparently I did not take pictures after this one. Eventually his Overlord wrecks the Chaplain's Razorback, forcing him to dismount. The Captain gets out early, in order to be available to charge the Overlord on the last turn (which he did) - but in the end, we were stuck in combat. In the mean time, the Tacticals and speeders eliminated the warriors to make sure the center was mine. In the end, I had enough points to propel me back to being tied for second place in total points, tied with the player I'd lost to in Game 2!

Preview of things to Come?
Just two parting shots - I did finish my oath for the Rage to Salvation event over at Bolter and Chainsword - completing a Furioso Dread and another 10 Death Company Marines!

This will allow me to play some lists and formations I could not do before!

Hope you enjoyed the shots,
MING
No comments:
Post a Comment